
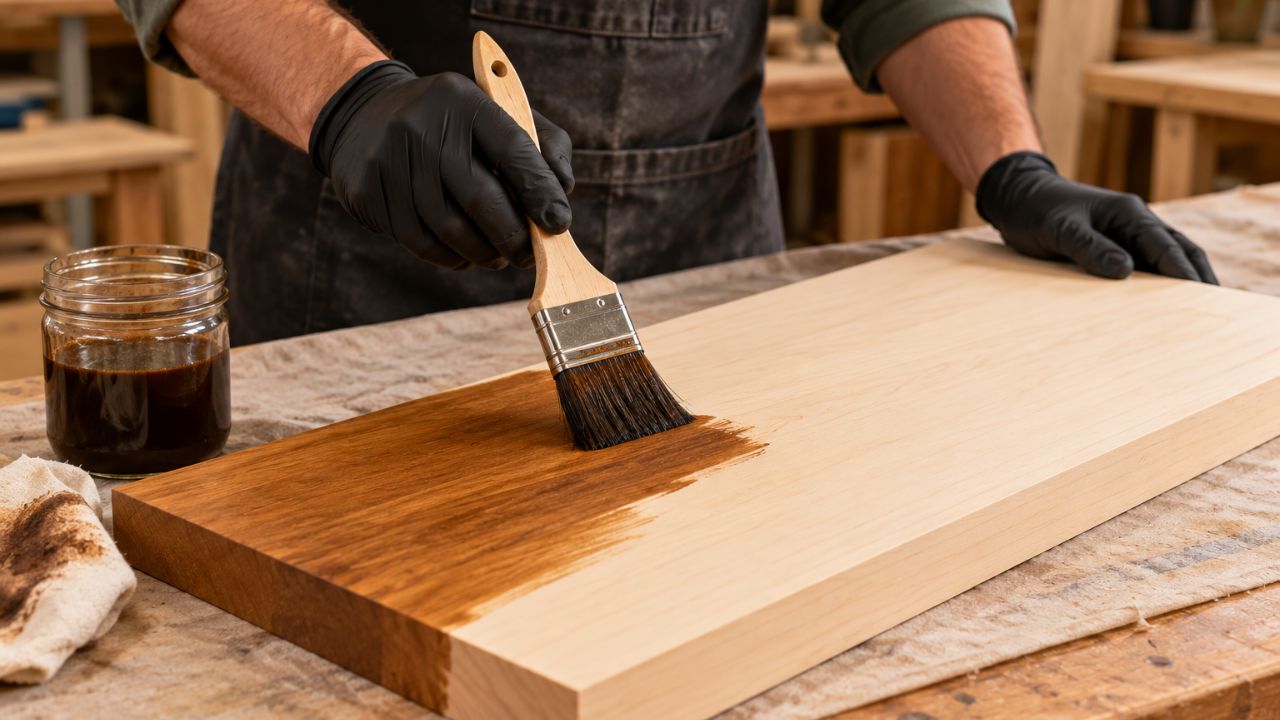
Yes, you can stain basswood, but it can absorb color unevenly and develop dark patches. Consistent surface preparation, a suitable stain system, and testing on an offcut help you get a more predictable result.
Basswood’s pale color makes it useful for decorative finishes, but staining does not give it the grain pattern of oak or walnut. You can change its color while retaining its relatively subtle natural appearance.
Whether you are finishing a carving, a small box, or a furniture component, start with a sample before applying stain to the finished piece.
Does Basswood Take Stain Well?
Basswood accepts stain, but accepting color and producing an even finish are different things.
Some areas absorb more stain than others. End grain, torn fibers, sanding scratches, and carved recesses can become noticeably darker. Glue residue can cause the opposite problem by leaving pale patches where stain cannot penetrate.
A light or medium color is often a more forgiving starting point than a very dark finish. Dark colors can work, but they make differences in preparation and absorption easier to see.
What Type of Stain Should You Use on Basswood?
There is no single best stain for every basswood project. Choose according to the shape of the piece, the desired appearance, and the finishing system you can apply consistently.
| Stain type | Why consider it? | Main limitation |
|---|---|---|
| Gel stain | Offers more control over color deposited near the surface | Can collect in details and obscure subtle grain |
| Liquid oil-based stain | Useful for a traditional stained appearance | Uneven penetration can cause blotching |
| Water-based stain | Often dries relatively quickly and allows water cleanup | Can raise fibers and leave lap marks if application is uneven |
| Wood dye | Can produce transparent color without heavy pigment buildup | Requires testing; it can still color unevenly |
Is Gel Stain Better for Basswood?
Gel stain is worth testing when a penetrating stain produces patchy results. Its thicker consistency can make color placement easier to control.
However, it is not automatically blotch-free. Applying too much can leave a muddy appearance or slow drying, particularly in carved recesses. General Finishes emphasizes thin application and removing excess for its oil-based gel stain.
For intricate carvings, make sure you can remove excess from the details before choosing a thick stain.
Do You Need Wood Conditioner Before Staining Basswood?
A compatible pre-stain conditioner can help reduce uneven absorption, especially with penetrating stains. It may also make the final color lighter.
Conditioner is not a universal requirement for every stain system. Some products use a different preparation method, and application windows vary.
Minwax offers separate conditioners for oil-based and water-based stains and explains their purpose in its wood preparation guide.
Test the recommended preparation on your basswood rather than assuming any conditioner will work with any stain. If the directions specify a time window for staining, follow it.
How to Stain Basswood Step by Step
1. Check That the Surface Is Bare and Clean
Penetrating stain needs access to bare wood. An existing varnish, wax, or other coating can prevent absorption.
Inspect the piece for glue, dents, scratches, and rough fibers. Remove glue carefully before staining; color often makes an overlooked glue spot much more obvious.
If you are refinishing basswood veneer, establish how thin it is before sanding or stripping. It cannot tolerate the same material removal as solid wood.
2. Prepare the Surface Evenly
Sand only as much as the project needs. On flat, unfinished basswood, a progression such as 120, 150, and 180 grit can be a starting point, but follow the stain manufacturer’s recommended final grit.
Avoid sanding one area much more finely than another. Differences in preparation can affect color.
For carvings, preserve crisp edges and small details. Clean tool cuts may need little sanding, while awkward recesses may require careful hand preparation.
3. Remove the Dust
Use a soft brush or vacuum to remove dust, especially from corners and carved details. Finish with a cleaning method compatible with your stain.
Avoid soaking the wood or introducing waxy residues that could interfere with the finish.
4. Make a Complete Test Sample
Use an offcut from the same board if possible. Include end grain or a small carved detail when those surfaces are part of your project.
Test the entire sequence:
- Surface preparation.
- Conditioner or other recommended treatment.
- Stain application and removal.
- Drying.
- Protective topcoat.
A sample that looks right before topcoating may look warmer or darker afterward.
5. Apply Conditioner if Your System Calls for It
Apply the compatible product evenly and follow its instructions for removing excess and waiting before staining.
Do not substitute a heavy coat of sealer for conditioner without testing. Too much sealing can prevent the stain from developing the intended color.
6. Apply the Stain in Manageable Sections
Stir pigmented stain as directed so settled color is distributed evenly.
Apply a controlled amount with the recommended brush, pad, or cloth. Keep your application method and timing consistent across the piece.
On a carving, watch for pools in grooves and around raised details. On a flat panel, work steadily enough to avoid obvious overlaps.
7. Remove Excess as Directed
For a wiping stain, remove unabsorbed material within the product’s recommended working time.
Do not leave a thick layer to dry simply to make the color darker. If you need more color, use an additional coat only where the instructions permit it.
A small brush or suitable cloth can help lift excess from recesses without flooding the surrounding surface.
8. Allow the Stain to Dry
Drying depends on the formulation, application thickness, temperature, and humidity. There is no single waiting period suitable for every stain.
Follow the required interval before topcoating. If the surface remains tacky, investigate the cause rather than covering it with another finish.
9. Apply a Compatible Protective Finish
Stain mainly adds color. A separate topcoat is usually needed for protection unless you are using a combined stain-and-finish product.
Choose according to use. A display carving needs less wear protection than a frequently handled box.
The coating can improve resistance to dirt, spills, and surface wear, but it will not make soft basswood dent-proof.
How to Fix Blotchy Stain on Basswood
First identify the problem rather than immediately applying more stain.
| Problem | Possible cause | Practical response |
|---|---|---|
| Pale patches | Glue residue or remaining finish | Remove the obstruction and prepare the affected surface again |
| Dark patches | Uneven absorption or surface preparation | Test refinishing or a compatible color-adjustment method |
| Sticky surface | Excess stain or inadequate drying conditions | Follow the stain maker’s removal and drying guidance |
| Dark carved recesses | Pooled stain or exposed end grain | Remove excess during application; test a revised process before refinishing |
Once penetrating stain has dried, correcting isolated spots can create visible halos. Refinishing the whole visible surface may produce a more consistent result.
Be especially cautious with thin veneer and delicate carvings. Aggressive sanding can cause damage that is harder to repair than uneven color.
Should You Stain or Paint Basswood?
Stain basswood when you want a translucent color and some natural wood character. Paint it when you want an opaque, consistent color.
A clear finish is another option if you prefer its pale appearance.
For a carving, consider what should stand out. A heavy dark stain can conceal fine details, while a lighter finish may make the shape easier to see.
Frequently Asked Questions
Can You Stain Basswood Dark Brown?
Yes, but test carefully. A dark stain may highlight blotching, scratches, and end grain. Choose a compatible system that builds color predictably rather than leaving excess stain on the surface.
Can Basswood Look Like Walnut After Staining?
It can be colored a walnut-like brown, but it will retain basswood’s grain and texture. Matching color does not reproduce another species’ appearance.
Can You Stain Basswood Without Conditioner?
Yes, if your test sample and stain instructions support that approach. Conditioner can help with some systems, but it is not a substitute for even preparation.
Can You Stain a Basswood Carving?
Yes. Test on similar cuts first, apply sparingly, and remove excess from recesses. Avoid sanding away the carving’s details.
Is Stained Basswood Waterproof?
No. Neither stain nor an ordinary clear finish makes basswood waterproof. Keep interior projects away from prolonged wetting.
When finishing, provide ventilation and follow the product label’s protective-equipment instructions. Handle oil-based stain rags as directed because piled oily rags can self-heat and catch fire.