
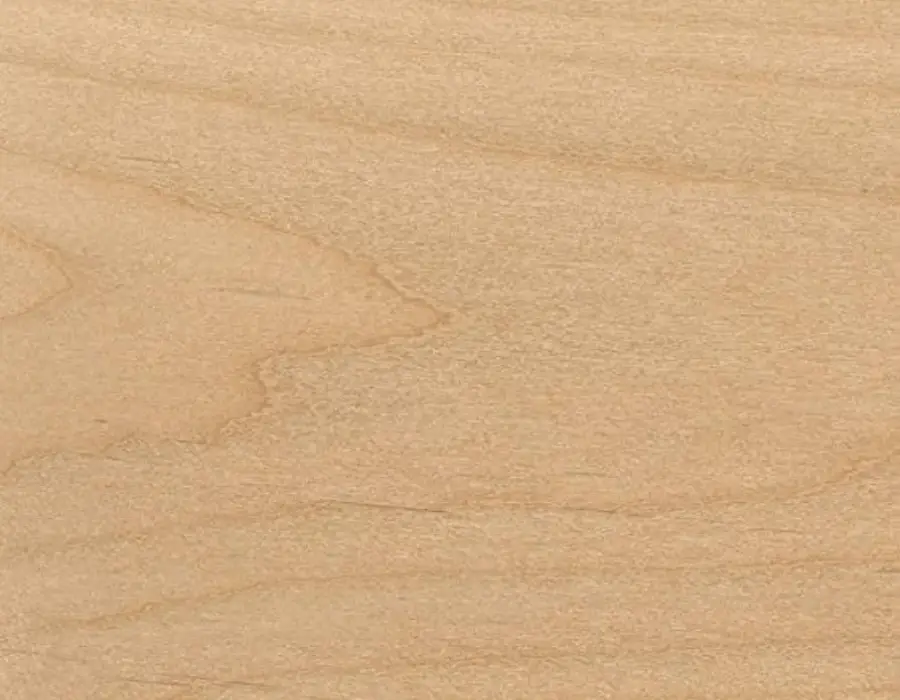
Yes, alder wood can be painted. Its fine texture can produce a smooth, attractive finish when the surface is properly cleaned, prepared, and primed. Clear alder is generally easier to paint uniformly than knotty alder, which may need filling and stain-blocking treatment.
Whether you are painting unfinished alder furniture or updating stained cabinets, the condition of the surface determines the preparation required. A compatible primer and paint system matters more than applying extra coats over an unprepared surface.
Does Alder Wood Take Paint Well?
Alder can take paint well, particularly when you want an opaque finish that covers its natural color.
Its relatively fine texture usually requires less grain filling than a prominently open-grained wood. However, paint will still reveal scratches, dents, glue residue, and poorly filled holes.
Because alder is relatively soft, avoid aggressive sanding and excessive pressure when handling it. Paint can protect the surface from everyday wear, but it does not prevent the wood underneath from denting.
Clear Alder vs Knotty Alder for Painting
Both can be painted, but they need different amounts of preparation.
| Feature | Clear Alder | Knotty Alder |
|---|---|---|
| Surface appearance | Fewer visible knots | Knots and character marks |
| Filling requirements | Usually limited to defects and fastener holes | May include open knot holes and checks |
| Priming considerations | Suitable bare-wood primer | May need additional stain blocking |
| Finished appearance | Easier to make visually uniform | Knot texture may remain unless properly filled |
| Best fit | Smooth painted furniture and cabinets | Projects where extra preparation is acceptable |
A knot has two separate issues: its shape and its potential discoloration. Filler addresses the depression or hole; a suitable primer addresses staining. One product does not automatically solve both problems.
Loose knots or unstable sections need repair before painting.
What Paint Should You Use on Alder?
Choose paint according to how the finished item will be used.
For cabinets, doors, and frequently handled furniture, a coating specifically intended for cabinetry, trim, or furniture is generally appropriate. These products are designed for demands such as handling, cleaning, and resistance to surfaces sticking together.
Ordinary wall paint may not provide the finish performance you want on cabinet doors or shelves.
Satin and semi-gloss finishes are common choices. Higher gloss can emphasize preparation defects, so consider the surface condition as well as the appearance.
Does Alder Need Primer Before Painting?
For bare alder, a suitable primer is usually the dependable starting point unless the selected coating system specifically allows direct application.
Primer can help create a consistent base, improve adhesion, and control discoloration. The correct type depends on the surface.
| Surface Condition | Primer Requirement to Consider |
|---|---|
| Clean, unfinished alder | Primer approved for bare wood |
| Sound, previously varnished alder | Bonding primer compatible with the prepared finish |
| Knots or discoloration | Primer specifically rated for stain or knot blocking |
| Areas repaired with filler | Primer compatible with both filler and wood |
Shellac-based stain blockers are one option for troublesome knots. For example, Zinsser B-I-N is intended for blocking stains and wood knots. Follow its preparation, ventilation, and topcoating instructions rather than assuming all primers perform the same way. Zinsser B-I-N product information
How to Paint Alder Wood
1. Inspect the Surface
Check for loose joints, damaged finish, cracks, dents, and unstable knots. Paint should be applied over a sound surface.
For cabinets, remove doors, drawers, and hardware where practical. Label components so they can be returned to their original positions.
Confirm whether the surface is solid alder or alder veneer. Thin veneer requires particularly careful sanding.
2. Clean Before Sanding
Previously used furniture and cabinets may carry grease, polish, wax, or cleaning-product residue.
Use a cleaner suitable for the existing surface and chosen coating system. Remove any residue as directed and let the wood dry.
Cleaning first helps avoid spreading contamination across the surface during sanding.
3. Fill Holes and Repair Defects
Use a compatible, paintable wood filler for small dents, fastener holes, and suitable surface defects.
Allow it to dry or cure as instructed before sanding. Deep holes may require a different repair method or more than one application.
Do not expect a thick coat of paint to conceal an open knot hole. It will usually leave a visible depression.
4. Sand Carefully
For unfinished alder, sand sufficiently to remove machining marks and prepare an even surface. A final sanding stage around 150–180 grit is often used for alder, although the coating manufacturer’s instructions should determine the final preparation.
NWH’s alder finishing guidance also emphasizes consistent sanding and preparation. NWH’s guide to finishing alder
For an existing sound finish, the goal may be to dull and prepare the coating rather than remove it completely.
Use light pressure, preserve sharp profiles, and avoid sanding through veneer.
5. Remove Dust
Vacuum the surface and surrounding work area. Follow with a clean, lint-free cloth or another dust-removal method approved for the coating system.
Avoid leaving residue that could interfere with adhesion. Let the surface dry if a damp cloth is used.
6. Apply Primer
Apply the selected primer at the recommended coverage rate. Treat knots or stains according to the product instructions.
After drying, inspect for roughness, missed areas, and discoloration. Sand the primer lightly if permitted, then remove the dust.
There is no universal requirement for two primer coats. Additional coats depend on coverage, staining, and the primer’s directions.
7. Apply the Paint
Use a suitable brush, roller, or sprayer and follow the paint’s application instructions.
Apply controlled coats rather than trying to achieve full coverage with one heavy layer. Heavy application can leave runs, uneven texture, and slow drying.
Allow the specified recoat time. Sand between coats only when recommended or needed to remove defects.
8. Allow the Finish to Cure
Paint that feels dry may still be vulnerable to pressure, cleaning, or sticking.
Follow the product’s curing guidance before normal use. Take particular care with cabinet doors, drawer fronts, shelves, and surfaces that contact other painted parts.
Can You Paint Over Stained Alder Cabinets?
Yes. Stained alder cabinets can be painted if the existing surface is properly prepared.
Determine whether the stain is covered by varnish, lacquer, polyurethane, or another finish. Paint adhesion depends on the condition and compatibility of that coating, not simply on the stain beneath it.
A practical process is to:
- Remove grease and other contamination.
- Repair damage and remove loose finish.
- Prepare the remaining sound coating as directed.
- Test a compatible primer and paint in a discreet area.
- Check the test after the specified drying or curing period.
Complete stripping may be necessary if the finish is failing or incompatible, but it is not automatically required for every repainting project.
Common Problems When Painting Alder
Brown or Yellow Marks Appear
Knots or existing discoloration may bleed through a coating that lacks sufficient stain-blocking ability.
Use the appropriate primer treatment instead of repeatedly covering the mark with ordinary paint.
Paint Peels or Scratches Off Easily
Possible causes include contamination, unsuitable preparation, incompatible products, or insufficient curing.
Identify the cause before recoating. Another layer over a weak bond will not reliably repair it.
Knots Remain Visible
A primer can block color without hiding the physical shape of a knot. For a flat appearance, suitable filling and sanding must happen before the finish coats.
The Surface Feels Rough
Dust, raised fibers, or application texture may be responsible. Correct the roughness at the appropriate stage rather than building more paint over it.
Frequently Asked Questions
Can You Paint Alder Without Sanding?
Some coating systems permit it on certain clean, sound surfaces. However, dents, rough wood, and damaged finishes still need preparation. Follow the exact product instructions and test adhesion first.
Do You Need Wood Conditioner Before Painting Alder?
Usually not. Pre-stain conditioner is intended for stain absorption, while painting normally uses an appropriate primer. Do not add conditioner unless the coating manufacturer specifies it.
Can Alder Be Painted White?
Yes. White paint can produce an attractive finish, but discoloration is more noticeable through light colors. Pay attention to knots, stains, and primer selection.
Does Painted Alder Need a Clear Topcoat?
Not always. Many cabinet and trim paints are designed to serve as the final finish. Add a clear coating only if the manufacturer recommends a compatible system.
Will Paint Make Alder Suitable for Outdoors?
Paint does not change alder’s poor natural decay resistance. An ordinary interior painting process should not be treated as a solution for exposed outdoor use.