
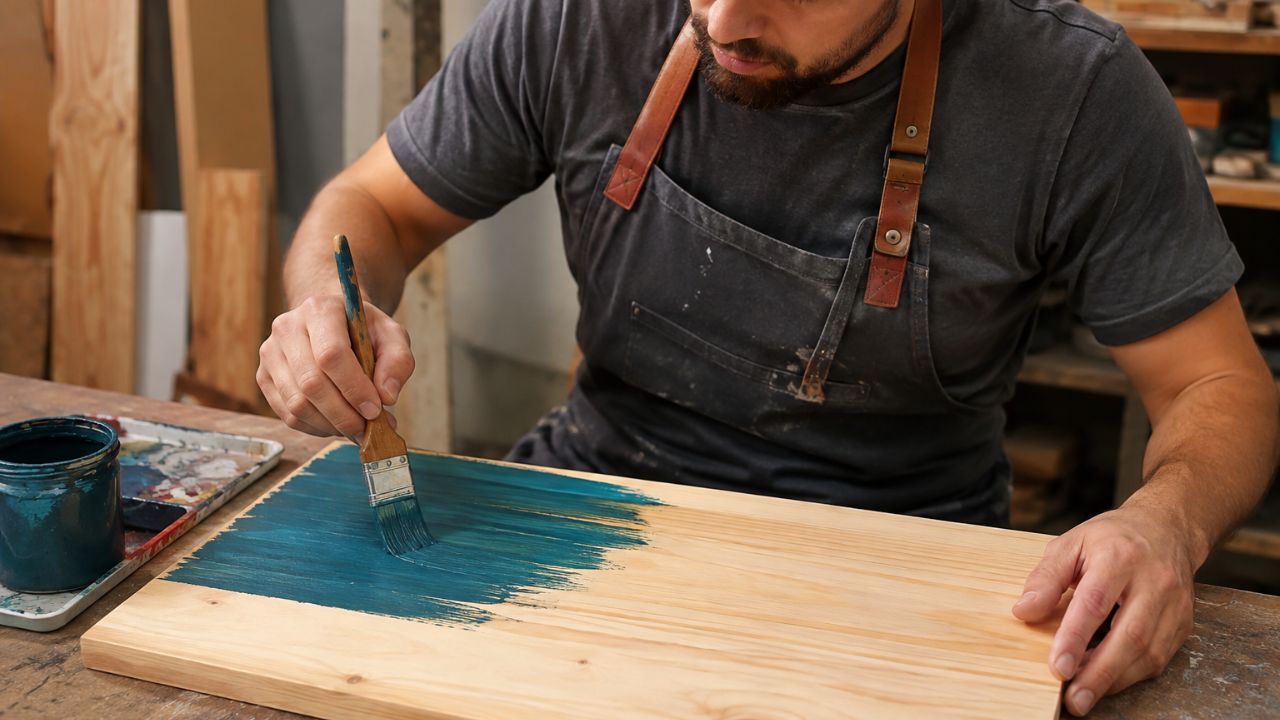
If you’ve ever stood in a craft store staring at a wall of acrylic paint, wondering whether it’ll stick to the wooden shelf you’re planning to redo — the answer is yes. Acrylic paint and wood are a genuinely great combination. But like most things worth doing well, the result you get depends almost entirely on the effort you put in before the first brushstroke.
Skip the prep, and you’ll be peeling flakes off your furniture six months from now. Do it right, and you’ll end up with a finish that’s smooth, vibrant, and tough enough to last for years. This guide walks you through everything — from choosing the right wood to sealing the final coat — in plain language, no fluff.
Why Acrylic Paint Is a Smart Choice for Wood
Acrylic paint has become one of the most popular options for wood projects, and for good reason. It’s water-based, which means it dries fast, cleans up easily with soap and water, and doesn’t fill your workspace with fumes the way oil-based paints do.
More importantly, acrylic paint forms a flexible film as it dries. Wood is a living material — it swells slightly in humid conditions and shrinks when the air is dry. A rigid paint can’t keep up with that movement and eventually cracks. Acrylic moves with the wood, which is a big part of why it holds up better over time than many alternatives.
It also comes in an enormous range of colours, works indoors and outdoors (with the right prep), and suits everything from fine art panels to garden furniture. For most wood painting projects, it’s the easiest choice to work with and one of the most forgiving for beginners.
Does It Work on Every Type of Wood?
Broadly speaking, yes — but some wood types need more preparation than others.
Softwoods like pine are absorbent and will drink up paint quickly, leaving a patchy, uneven finish if you skip primer. A good stain-blocking primer before you paint makes all the difference.
Hardwoods like oak or maple are denser and less absorbent, which actually makes them easier to paint smoothly — though they still need a light sand first so the paint has something to grip.
Plywood and MDF both work well, but MDF’s edges are extremely porous and need to be sealed separately before priming, otherwise they soak up paint like a sponge and never look right.
Knotty pine and cedar have natural resins that can bleed through regular primer and stain your finish. Always use a stain-blocking primer on these species — it’s not optional.
Pressure treated wood is the one case where acrylic paint struggles. The chemical treatments in the wood interfere with adhesion, and results are inconsistent at best.
What You’ll Need Before You Start
You don’t need a lot of specialist gear, but having the right things on hand makes the job much smoother:
- Sandpaper — 120-grit for initial sanding, 220-grit for between coats
- Tack cloth or microfiber cloth — for wiping away dust after sanding
- Wood primer — latex or stain-blocking depending on your wood type
- Acrylic paint — craft acrylics work fine for furniture and DIY; artist-grade for fine art panels
- Flat brush or foam roller — foam rollers leave fewer brush marks on large flat surfaces
- Sealer — polycrylic, polyurethane, or clear acrylic spray depending on the project
Step-by-Step: How to Paint Wood with Acrylics
Step 1 — Clean the Surface Thoroughly
Any dirt, grease, or wax sitting on the wood will stop your paint from bonding properly. Wipe down the surface with a clean damp cloth, or use a mild cleaner like trisodium phosphate (TSP) for older, grimier pieces. If you’re working with reclaimed wood or old painted furniture, make sure there are no flaking or peeling bits left — scrape them off and smooth the area down.
Let the wood dry completely before moving on. Painting over damp wood is one of the most common causes of peeling and bubbling.
Step 2 — Sand It Down
Even if the wood looks smooth, sanding is worth doing. It opens up the grain slightly, giving the primer and paint a better surface to hold onto. Use 120-grit sandpaper and work in the direction of the grain — never against it.
Once you’ve sanded, wipe away every trace of dust with a tack cloth. This step is easy to rush and easy to regret — dust trapped under paint creates bumps you’ll notice every time you look at the finished piece.
Step 3 — Apply a Primer
Primer is what separates a paint job that lasts from one that doesn’t. It seals the wood, prevents uneven absorption, and gives the acrylic paint a stable surface to bond to.
Apply one or two thin coats, allowing each to dry fully between applications. For knotty or resinous wood, make sure you’re using a proper stain-blocking primer — regular latex primer won’t stop the resins from bleeding through and discolouring your finish.
If you’re working on a fine art panel, gesso is the traditional choice. Apply at least two or three coats, sanding lightly between each, for the best painting surface.
Step 4 — Paint in Thin, Even Coats
This is where most people go wrong — they load up a thick coat thinking it’ll be faster, and end up with drips, bubbling, and a finish that takes forever to dry. Thin coats are almost always the right move.
Apply your first coat of acrylic evenly, working in one direction to avoid streaks. Let it dry fully — usually 20 to 30 minutes under normal indoor conditions — then lightly scuff the surface with 220-grit sandpaper. Wipe away the dust and apply your second coat.
Most projects need two to three coats for full, even colour coverage. Each coat bonds better to the one before it, building up a more durable finish than a single thick application ever would.
Step 5 — Seal It
For purely decorative indoor pieces, the dried acrylic itself provides a reasonable level of protection. But for anything that gets handled regularly — furniture, children’s toys, outdoor signs — you want a proper topcoat.
Choose your sealer based on where the piece will live:
- Polycrylic is water-based, dries clear, and is ideal for indoor furniture and crafts. It won’t yellow over time, which makes it the go-to for light-coloured paint jobs.
- Polyurethane is more durable and better suited to outdoor pieces or surfaces that take a beating, though oil-based versions can develop a slight yellow tint.
- Clear acrylic spray is convenient for small crafts and art panels — easy to apply in an even coat without brush marks.
- Varnish is the standard for fine art — available in matte, satin, and gloss finishes, it protects the paint layer and controls the final sheen.
Apply the sealer in thin coats, allow each to dry fully before adding the next, and you’re done.
Is Acrylic Paint on Wood Waterproof?
Honestly, no — and it’s worth being clear about this upfront. Sealed acrylic paint makes wood water-resistant, meaning it handles the occasional splash or damp cloth without a problem. But it’s not waterproof. Leave a wet glass sitting on a sealed acrylic-painted table for hours and you may still see damage.
For outdoor projects or anything that needs to handle real water exposure, you need a purpose-built exterior sealer — a UV-resistant polyurethane or exterior spar varnish over your sealed acrylic gives the level of protection you actually need.
Common Mistakes That Ruin a Good Paint Job
Skipping primer on bare wood. Without primer, softwoods absorb paint unevenly and the finish always looks patchy. Don’t skip it.
Painting on a dusty surface. Even a little dust trapped under paint creates texture you’ll feel and see. Always wipe down after sanding.
Applying coats too thick. Thick coats crack, drip, and take much longer to cure. Thin and patient beats thick and fast every time.
Not letting coats dry fully. Adding the next coat before the previous one is fully dry traps moisture and leads to peeling. Wait it out.
Expecting waterproofing from acrylic alone. Acrylic paint is water-resistant, not waterproof. If the project needs real moisture protection, seal it properly with a suitable topcoat.
Best Projects for Acrylic Paint on Wood
Acrylic paint suits a wide range of wood applications:
- Furniture makeovers — chairs, tables, dressers, and side tables respond beautifully
- Home décor items — wooden signs, picture frames, decorative shelving
- Fine art panels — hardboard or birch panels give sharper detail than canvas
- Garden décor and outdoor signs — with proper exterior primer and sealant
- Children’s wooden toys — use non-toxic, child-safe acrylic formulations
- Craft projects — boxes, trays, cutting boards (decorative only), ornaments
- Turned wooden objects — pens, bowls, and small decorative pieces
Frequently Asked Questions
Do I always need to prime before painting wood with acrylics?
For raw, untreated wood — yes, almost always. Primer prevents uneven absorption and dramatically improves how the paint sticks. Pre-made art panels from an art supply store are usually pre-treated and may not need it, but craft store wood boards definitely do.
How long does acrylic paint take to dry on wood?
Most acrylic paint is dry to the touch in 20 to 30 minutes under normal indoor conditions. Full curing — where the paint reaches its full hardness — can take anywhere from a few hours to a couple of days depending on temperature, humidity, and how thick the coats were applied.
Can I use acrylic paint on wood outdoors?
Yes, as long as you prepare and seal it properly. Sand, prime with an exterior-rated primer, paint with two to three coats of acrylic, and finish with a UV-resistant exterior polyurethane. Without the right sealer, outdoor acrylic paint will fade and break down quickly.
Why is my acrylic paint peeling off wood?
Peeling almost always comes down to preparation. Either the wood wasn’t sanded, the primer was skipped, coats were applied too thick, or the surface wasn’t clean when painting started. Fixing the prep process fixes the peeling.
Can I use cheap craft acrylics or do I need artist-grade paint?
Both work well on wood. Craft acrylics are perfectly suitable for furniture, signs, and DIY projects. Artist-grade paints have richer pigment and better lightfastness, which matters more for fine art where colour longevity is important. For most everyday wood projects, craft acrylics are completely fine.
Can I paint over already-stained wood with acrylics?
Yes — lightly sand the stained surface first to give the paint something to grip, then apply a coat of primer. Without sanding and priming, acrylic paint tends to peel off stained wood relatively quickly.
The Bottom Line
Acrylic paint on wood works — and works well — when you take the preparation seriously. Clean the surface, sand it down, prime it properly, apply thin coats patiently, and seal the finished piece. Do those five things and you’ll end up with a paint job that looks great and holds up over time.
Whether you’re giving an old piece of furniture a new life, creating art on a wooden panel, or painting a garden sign from scratch, acrylic is one of the most accessible and versatile paints you can work with. It’s forgiving, fast-drying, easy to clean up, and delivers genuinely beautiful results when the groundwork is done right.