
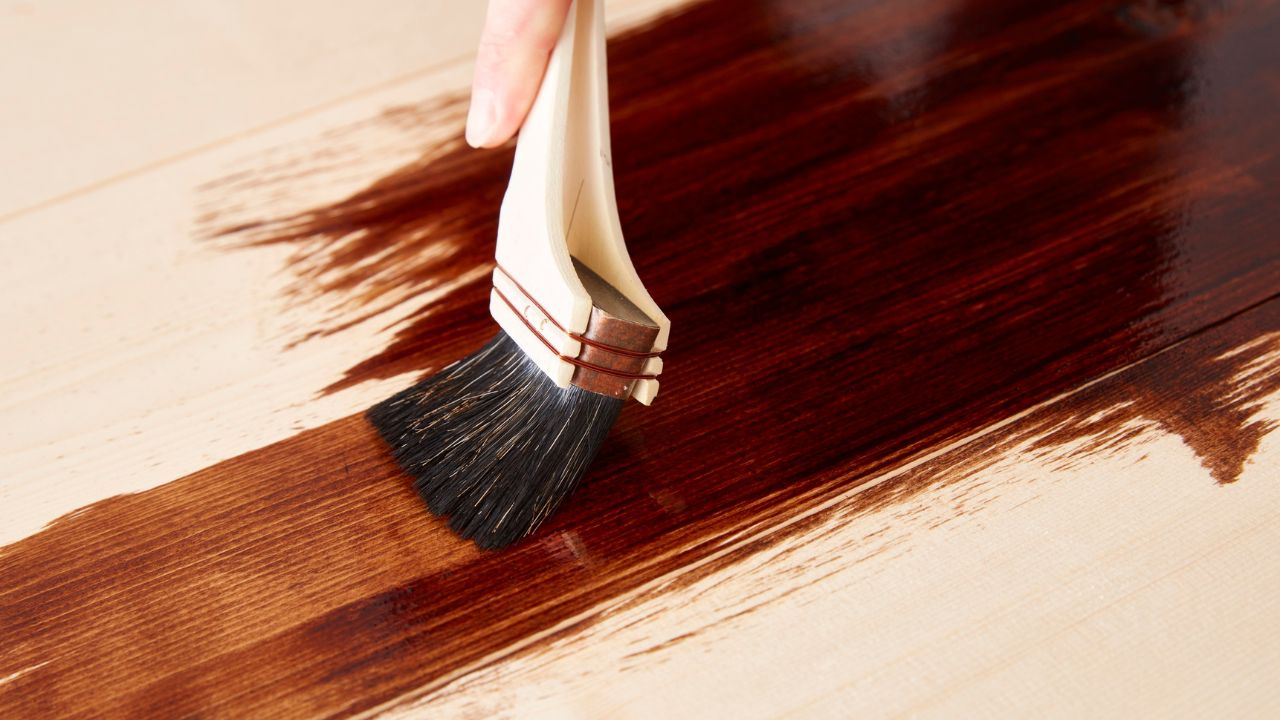
Yes, you can stain real wood veneer. Because veneer is a thin layer of actual wood, it can accept stain much like solid wood. The difference is how carefully you need to prepare it: aggressive sanding can remove the entire wood surface.
If you are updating a veneered dresser, cabinet, or tabletop, first check whether the surface is bare wood, already finished, or actually laminate. That determines which staining method will work.
What Is Wood Veneer?
Wood veneer is a thin sheet of real wood bonded to a supporting material, such as plywood, MDF, or particleboard. The surface may be oak, walnut, maple, cherry, or another species.
The backing does not determine whether you can stain it. For example, a cabinet with an MDF core and an oak veneer face can be stained because the exposed surface is oak.
Laminate is different. It usually has a manufactured decorative surface rather than exposed wood fibers. Ordinary penetrating wood stain will not soak into it like it does into real veneer.
Check the product description or an exposed edge to help identify the material. Appearance alone can be misleading.
Can Every Veneered Surface Be Stained?
Real veneer can generally be stained, but its condition matters.
| Surface Condition | Best Starting Point |
|---|---|
| Bare, unfinished veneer | Light preparation followed by a tested stain |
| Veneer with an intact clear finish | Remove the finish for penetrating stain, or consider an approved gel-stain system |
| Peeling or bubbling veneer | Repair the loose veneer before finishing |
| Veneer already sanded through | Repair or replace the damaged surface |
| Laminate or printed wood-look finish | Use a coating system specifically approved for that material |
Stain changes color; it does not repair missing wood or secure loose veneer.
What Is the Best Stain for Wood Veneer?
The best choice depends on the wood species, existing finish, and color you want.
Penetrating Wood Stain
Penetrating stains work on properly prepared bare veneer. They color the wood while allowing the grain to remain visible.
However, some species absorb stain unevenly. Maple, birch, and cherry can develop blotches, so test your complete finishing process before applying it to the furniture.
Gel Stain
Gel stain is thicker and can provide more control over color. Some products also allow you to darken an existing finish after cleaning and light scuff sanding.
This makes gel stain worth considering when removing the original finish would risk damaging thin veneer. It still requires sound preparation and a compatibility test. General Finishes’ gel-stain instructions distinguish between preparation for raw wood and existing finishes.
Heavy applications can obscure the grain, so darker is not always better.
Water-Based Stain
Water-based stain can work on suitable veneer assemblies, but check the veneer and adhesive manufacturer’s guidance. Excess moisture can cause problems with some backings or glue bonds.
Apply the product as directed and avoid saturating the panel, especially around exposed edges.
How to Stain Wood Veneer Step by Step
1. Inspect the Surface
Look for lifting edges, bubbles, chips, deep scratches, and previous sanding damage.
Repair loose veneer before staining. If you discover a pale patch where the grain disappears, the face may already have been sanded through. Stop sanding that area—additional sanding will enlarge the damage.
For valuable antique furniture, consider professional restoration before removing the original finish.
2. Clean Before Sanding
Remove dirt, grease, and furniture-polish residue with a cleaner suitable for the existing surface.
Cleaning first helps prevent contaminants from being spread across the wood during preparation. Keep liquids controlled, and let the surface dry before continuing.
3. Deal With the Existing Finish
For penetrating stain, the old coating must be removed so the stain can reach the wood.
Do not try to grind away a thick finish with coarse sandpaper. A compatible chemical stripper may reduce the amount of sanding needed, but it must be tested first. Some solvents and prolonged wetting can affect veneer adhesives.
Follow the stripper’s directions for application and residue removal. Avoid flooding seams and edges.
If you are using gel stain over an existing coating, follow that product’s preparation instructions instead of stripping automatically.
4. Sand Lightly
For sound, bare veneer, gentle hand sanding with approximately 180–220-grit sandpaper is a common preparation approach. The exact grit should follow the veneer and stain manufacturers’ recommendations.
Use light pressure, work with the grain, and be particularly careful around edges and corners. Do not keep sanding a deep scratch until it disappears; the veneer may be thinner than the scratch.
Oakwood Veneer recommends a light final sanding and emphasizes avoiding sanding through the face in its veneer staining guide.
Remove the sanding dust before staining.
5. Test the Color and Conditioner
Use an offcut of the same veneer if available. Otherwise, choose a small, inconspicuous area with the same surface preparation.
A compatible pre-stain conditioner can help on blotch-prone wood, but it may also make the final color lighter. It is not necessary for every species or stain.
Test the stain and protective finish together. The clear coat can change how the color looks.
6. Apply the Stain Evenly
Apply stain using the method specified on the label. Work in manageable sections and keep a wet edge to avoid obvious overlaps.
For wiping stains, remove excess within the recommended time. Leaving thick residue on the surface can produce sticky areas and uneven color.
Let the stain dry for the full recommended period before deciding whether another application is needed.
7. Add a Protective Finish
Most wood stains add color without providing enough protection for furniture use.
Apply a compatible clear finish suited to the project. A tabletop needs better resistance to spills and wear than a decorative panel.
Follow the specified recoating and curing times. A surface that feels dry may still be too soft for regular use.
During the work, provide ventilation and follow product instructions for gloves and disposal. Oil-based stain rags can self-heat; never leave them crumpled in a pile.
Can You Stain Veneer Without Sanding?
Sometimes, but it depends on the surface and product.
Clean, unfinished veneer that is already properly prepared may need little additional sanding. An existing glossy finish usually needs preparation before a new coating will adhere.
A “no-sanding” label does not mean you can skip cleaning, repairs, or an adhesion test.
Can You Stain Wood Veneer Lighter?
Applying a lighter-colored stain over dark wood usually will not make it lighter. Stain generally adds color rather than removing it.
Removing a dark coating may reveal lighter wood beneath, but color already absorbed into the veneer can remain. Trying to sand it out risks removing the face layer.
If your goal is a much lighter appearance, painting, replacing the veneer, or having the piece professionally refinished may be more practical.
Why Does Veneer Look Blotchy After Staining?
Common causes include leftover finish, glue residue, uneven preparation, and differences in how the wood absorbs stain.
Do not immediately add more stain or sand aggressively. First identify whether the patch is bare wood, remaining coating, or damaged veneer.
The most useful preparation step is a small test using the same cleaning, sanding, stain, and topcoat planned for the finished piece. It takes a little longer at the start, but it can prevent a difficult repair later.