
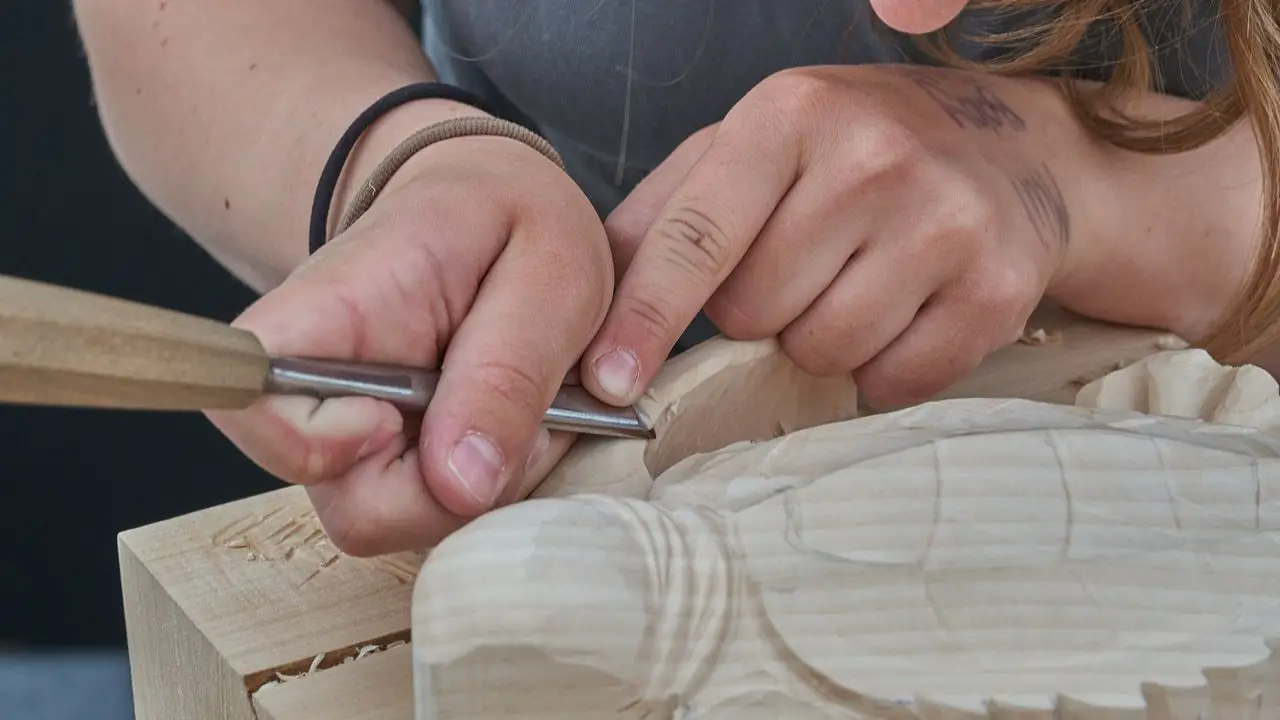
Woodcarving can be a wonderfully rewarding craft—but not when your wood is so hard that it fights back with every cut. That’s where learning how to soften wood for carving comes in. Whether you’re working with dry, aged hardwood or even green wood that feels too tough, softening the wood can make your tools glide smoother and reduce hand fatigue.
In this article, we’ll break down the best, safest, and most effective ways to soften wood for carving, along with tips to avoid damage to your project. Let’s dive into it.
Why Soften Wood Before Carving?
Before we get into the how, let’s talk about the why. Some woods—especially hardwoods like oak, maple, or cherry—can be difficult to work with because they’re dense, dry, or fibrous. Even softwoods like pine or cedar can sometimes harden over time, especially if they’ve been stored in dry conditions.
Softening wood helps to:
- Make carving smoother and easier
- Reduce chipping and splintering
- Prevent tool damage or dulling
- Allow finer detail work with less effort
This is especially important for detailed projects like relief carvings, sculpture, or whittling, where every cut counts.
Methods to Soften Wood for Carving
1. Soak in Water
This is one of the oldest and simplest methods. Submerging a piece of wood in water can help loosen its fibers and make it easier to carve.
How to do it:
- Fully submerge the wood in a bucket of water for 12–48 hours.
- Time depends on the wood’s density—hardwoods may take longer.
- Once softened, wipe off excess water and carve immediately.
Caution: This method can lead to swelling or cracking if the wood dries too quickly afterward. Avoid soaking for too long, and always allow the wood to dry slowly in a shaded area after carving.
2. Spray Bottle and Damp Cloth Method
For smaller projects or when full soaking isn’t possible, a spray bottle filled with warm water can work wonders.
Steps:
- Fill a spray bottle with warm water.
- Mist the wood evenly.
- Wrap it in a damp towel or cloth and place it in a sealed plastic bag for a few hours or overnight.
- Open the bag and start carving once the wood is more pliable.
This method is great for temporary softening during a long carving session, especially if the wood starts to dry out mid-project.
3. Use Alcohol and Water Solution
Mixing rubbing alcohol with water creates a fast-acting softener. Alcohol helps the water penetrate the wood more deeply.
How to use:
- Mix 50% isopropyl alcohol and 50% water in a spray bottle.
- Lightly mist the surface of the wood.
- Let it sit for 10–20 minutes.
- Start carving while the wood is still damp.
This method evaporates quickly, making it ideal for softening just enough without soaking the wood. Be careful not to overuse, as repeated applications may cause the surface to raise or distort.
4. Glycerin Treatment
Glycerin, a common ingredient found in pharmacies or craft stores, is another effective wood softener, especially for older, brittle wood.
Here’s how:
- Mix 1 part glycerin with 2 parts warm water.
- Soak the wood or apply with a cloth.
- Let it sit in a plastic bag for 24–48 hours for best results.
Glycerin-treated wood is often used for decorative carvings, as it softens wood without making it soggy. It’s especially helpful for softening driftwood or reclaimed wood.
5. Steam It
Steam softens wood by heating and expanding its fibers. This is a quick method for small sections that need just a little more give.
Tools you’ll need:
- A steamer (like a clothing steamer or kettle with a hose)
- Towel to wrap the wood
Instructions:
- Steam the area you plan to carve for 10–15 minutes.
- Wrap the steamed section in a towel to retain heat.
- Begin carving while the wood is still warm and flexible.
Steam is particularly good for bending and shaping wood as well, making it a dual-purpose technique.
Tips for Safe and Effective Softening
- Avoid over-soaking hardwoods; this can cause cracking when they dry.
- Test on a scrap piece of wood before treating your main project.
- Always carve while the wood is still slightly moist, not soaking wet.
- After carving, allow the piece to dry slowly to avoid warping—wrap it in newspaper or keep it in a cool, shaded place.
- Store pre-softened wood in airtight bags to maintain moisture during extended carving sessions.
What Wood Types Respond Best to Softening?
- Hardwoods like oak, maple, and cherry benefit the most from softening methods.
- Basswood and butternut are already soft but can dry out over time—light misting is often enough.
- Pine and cedar don’t usually need softening but can be steamed or misted if extra pliability is required.
Final Thoughts
Knowing how to soften wood for carving can elevate your work from a battle of brute force to a smooth, satisfying craft. Each softening method has its place—whether you’re soaking, steaming, or misting. The key is to choose the one that best suits your wood type and carving style.
Don’t be afraid to experiment. Just like picking the right wood, learning how to condition it is part of your journey as a carver.
FAQs
1. Can I use boiling water to soften wood?
Yes, boiling water can work for steaming or soaking, but it may be too aggressive for small or delicate projects. Use with caution.
2. How long should I soak wood for carving?
Soak wood for 12–48 hours depending on the size and density. Always dry slowly afterward to avoid cracking.
3. Can I soften painted or finished wood?
No. Painted or sealed wood will repel moisture, making softening ineffective and potentially harmful to your tools.
4. Will softening wood make it less durable?
Temporary softening won’t harm durability if the wood is dried properly afterward. Just avoid soaking too long or exposing it to mold.
5. What’s the quickest way to soften wood?
A warm water and alcohol spray is the fastest method, especially for spot-softening during carving sessions.